A logo is a key component that helps people recognize and remember a brand or business. And, recognition is crucial in email marketing because nearly 45% of people are more likely to trust and open an email from a brand they recognize.
Most people use the logo in only one or two locations in the email, but there are many more places where you can add your logo.
We will show you how and where you can add your brand logo in the emails, along with some best practices you should follow.
Table of contents
- Why is it important to add a logo to your email?
- Where can you add a logo to your email?
- How to add an email logo in email marketing campaigns?
- Best practices to follow when placing the logo in emails
- What now?
Why is it important to add a logo to your email?
Having a logo in your email can be helpful in several ways. Here are some of the benefits:
• It helps establish your brand identity
When you first start sending emails to your subscribers, it's important to use a brand logo in every email you send. It helps people become familiar with the logo and associate the contents of the email, like imagery, copy, message, to your brand. So people will relate the logo with your brand, and identify if they see it again, which is the second advantage.
• It helps with brand recognition
People remember visuals better than text, so they recognize you by your logo. So if your email has a logo, it becomes easier for the person to recognize who it is from when they see it in their inbox. Logos also function as Brand Indicators for Message Identification (BIMI), as when your subscribers recognize your logo, they trust the emails you send.
• It helps increase the open rates
Logos help people recognize and trust you, so subscribers are more likely to open your email. Thus, adding a logo in your email can help increase your open rates.
Where can you add a logo to your email?
Now that you know the benefit of a logo in emails let's find out where you can add the logo in emails.
1. Sender ID photo
You can add it as the profile photo of the email account that you use to send your email campaigns. It is one of the first elements your subscribers will see in their inbox, and the logo in the sender's profile photo helps influence whether they open the email or not.
Here, Buy Me a Coffee has put their logo in the sender profile photo with their signature yellow brand color. The logo with the brand color immediately lets the people know exactly who the email is from, encouraging them to open and read the email.

2. Email header
Logo in the email header is one of the more subtle but still impactful ways to establish your brand's identity within the email.
As you can observe from the example below, Nike put their logo in the email header and nothing else, but still, we can remember and recognize the brand with just that logo.

3. Email footer
The footer is the last thing a person sees when reading your email before leaving. So, you have to add your logo there to finish the email with a bang and reestablish your brand's identity like how H&M has done here.
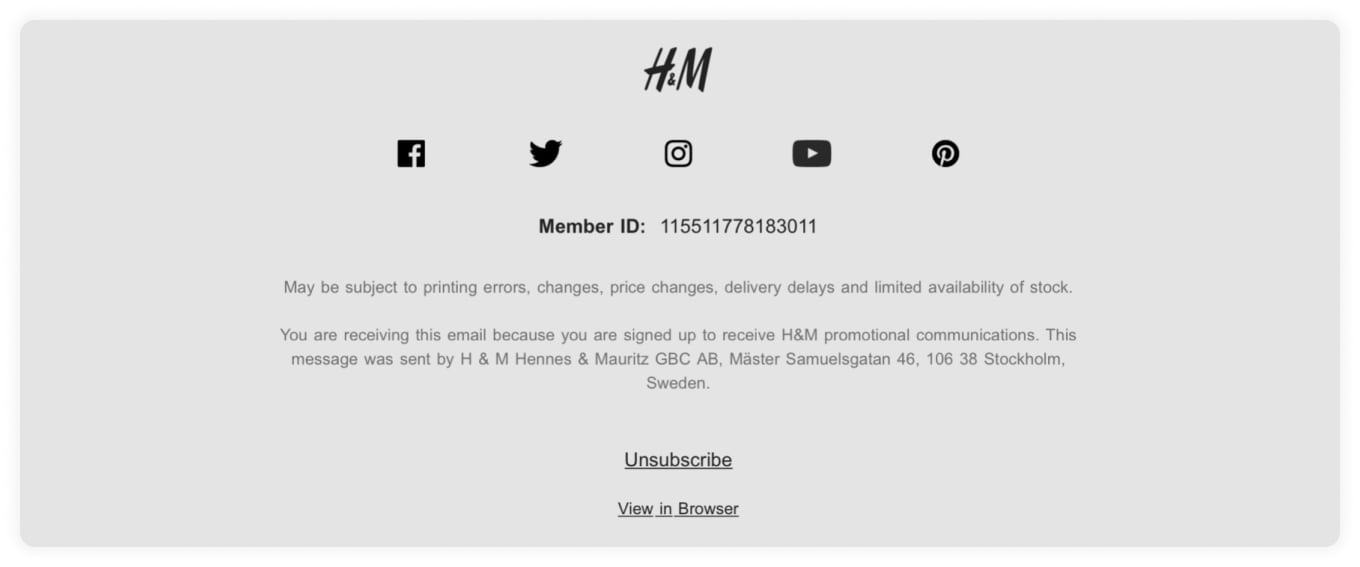
However, most people don't use this precious real estate in their emails. Check out our guide on email footers to find out how to optimize the footer at the bottom of your emails.
How to add an email logo in email marketing campaigns?
Here we'll discuss the steps you can take to add your brand logo to the email campaigns.
• Sender photo
To add your logo to your sender profile photo, you must set up a BIMI record. If you have implemented BIMI, your logo will appear in the subscriber's inbox. To use BIMI, you must first fulfill the email authentication processes listed below:
Set up a Sender Policy Framework (SPF), which specifies which IP addresses can send emails for the domain.
Implement Domain Keys Identified Mail (DKIM), which adds a digital signature to emails and confirms that they haven't been tampered with while in transit.
Implement DMARC, a protocol built on SPF/DKIM that instructs the receiving server what to do if SPF/DKIM authentication fails.
After you've completed your login, create a Scalable Vector Graphics (SVG) file and upload it to the server.
The Verified Mark Certificate (VMC) certification process (applicable exclusively to non-Gmail participants) entails a specific identity and trademark verification.
To implement Domain Name System (DNS) records for BIMI, go to your DNS hosting provider and create a new record.
Your logo will be reviewed and displayed in the recipients' inbox once all initial processes have been accomplished. You can use the BIMI Inspector to see if your brand conforms with BIMI standards.
• Header
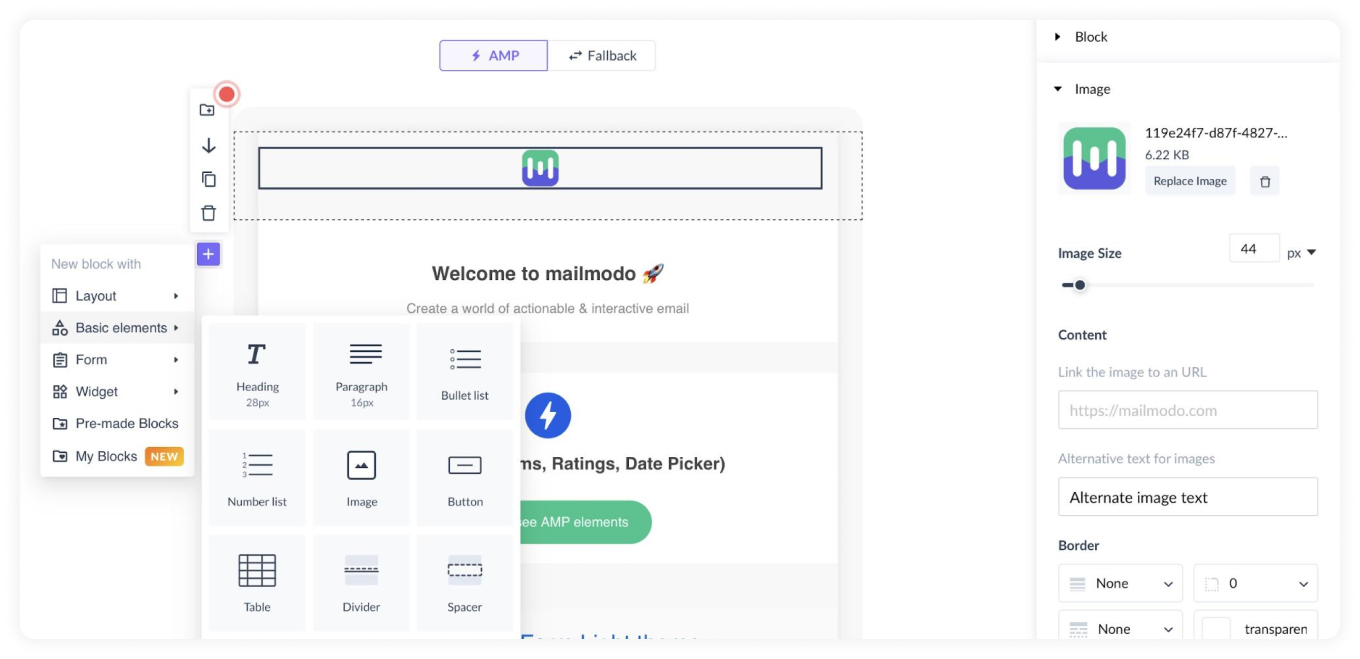
If you are using an Email Service Provider (ESP) ), here are some steps you need to take to add your logo to your email header.
We are using Mailmodo to demonstrate the steps, but these steps are more or less similar for all ESPs.
Go to the template editor in your ESP.
Click on the add image button.
Upload your logo and resize it to fit your email.
Place it at the top of your email in the header region.
• Footer
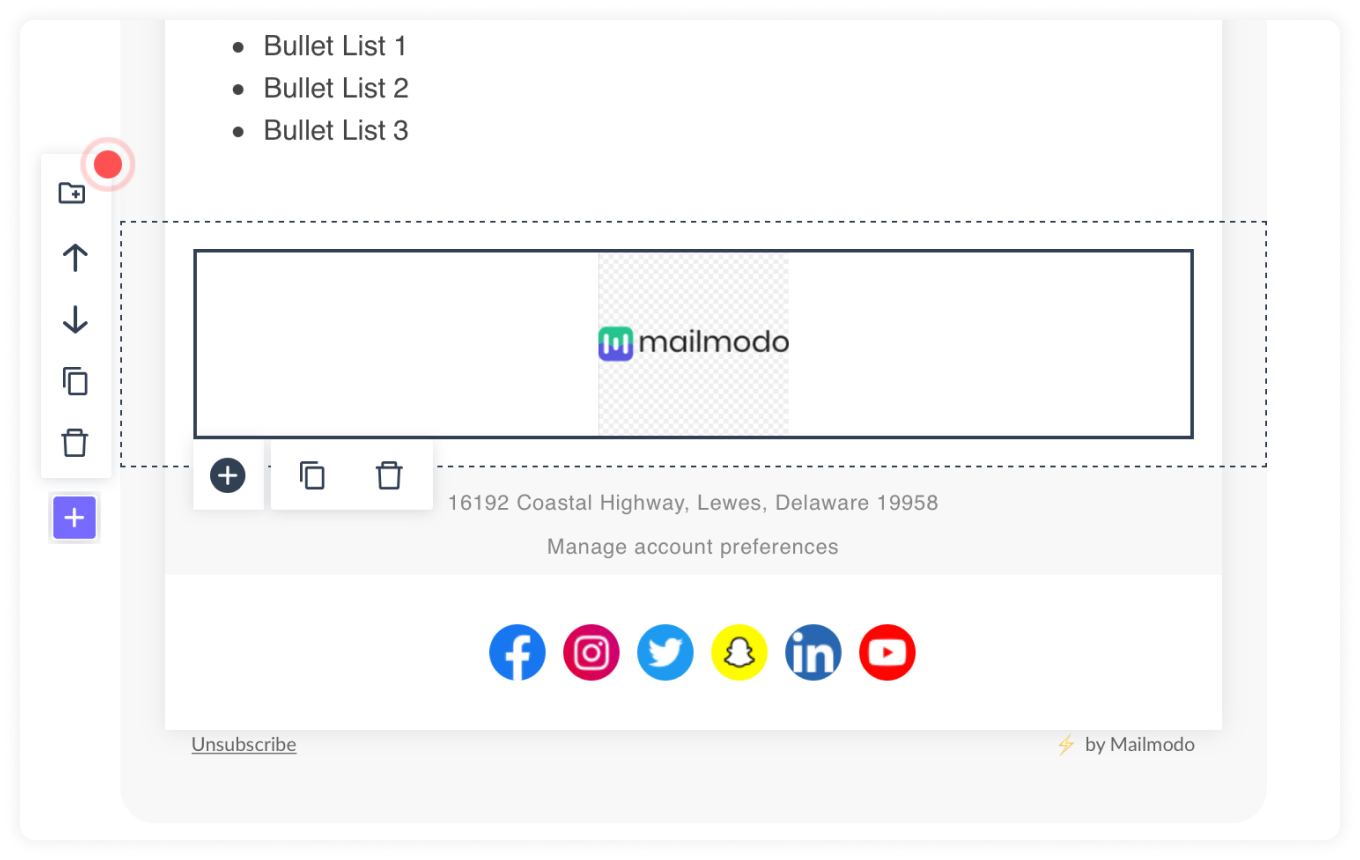
The steps are the same as the header for adding your logo in the footer. You will have to add it as an image in the footer and resize it to fit properly amongst other elements in the footer.
Best practices to follow when placing the logo in emails
While adding a logo to your emails might seem straightforward, there are a few tips that can help you make it more effective in the email.
✅ Use a transparent PNG
Images without a background are known as transparent PNGs, and they are commonly identified by a checkerboard pattern, as depicted in the example below.

When email clients change the email from light to dark mode, a transparent PNG logo ensures that the image will not have a jarring background. And, when your subscribers view your email in dark mode, they will not be exposed to bright backdrops, which will improve their user experience.
However, if you're using transparent PNGs in your email, remember to shrink the file size before sending it, as they tend to be larger.
✅ Have a white border around your logo
In the dark mode, if the transparent picture of the logo or text is black, it has a high possibility of the logo disappearing into the backdrop, as shown in the image below.

So, you can add a white border around the black elements to make the logo or text apparent even in dark mode as shown in the image below. The white element will just merge into the background when seen in light mode.

✅ Add an alt text to the images
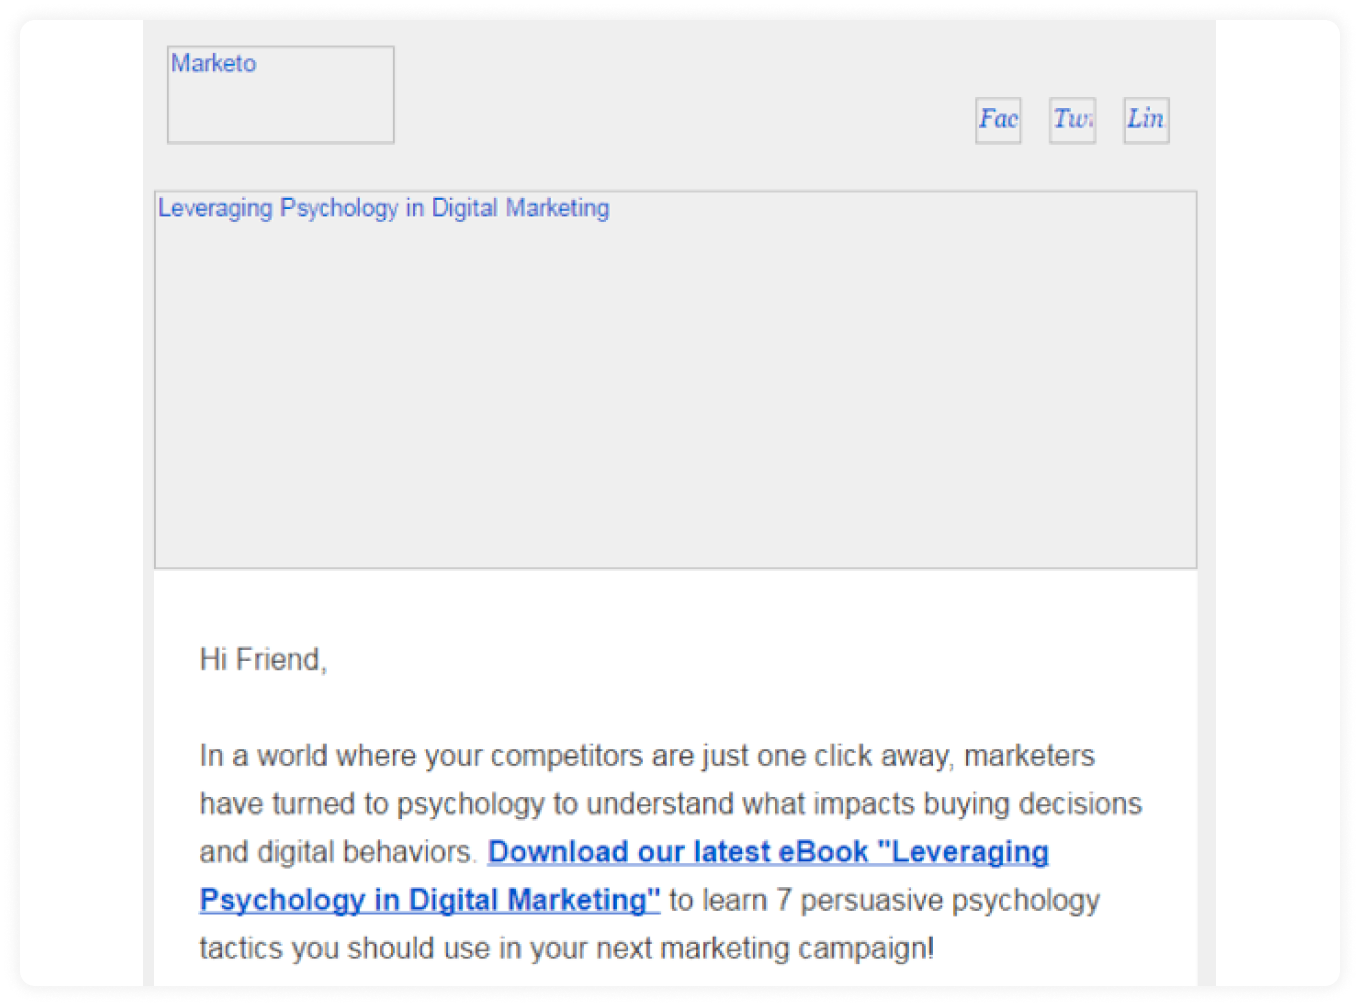
Alt text tags are text snippets that explain an image, in this case, your logo, and help make emails accessible. When the email client cannot load an image file, they come in helpful. If the email doesn't load for your readers, they'll see the alt text instead of the image. So, even if your logo isn't visible, it helps readers recognize it, as shown in the following image.
Source: Marketo
✅ Test your emails to check if the logo renders well
Send yourself a test email after adding your logo to your email signature to ensure the logo is properly placed. Make sure your logo is noticeable but not so enormous that it overwhelms the remainder of your email.
Experiment with the positioning and sizing of your logo to ensure that it is visually consistent with the rest of your email signature and fits comfortably within your email template.
What now?
Go ahead and add your logo to the email. Simple as that. You know how to do it and why you should do it, so now all you've got to do is just do it.
If you need to learn more about what else you can do to improve your email deliverability efforts, check out our guide Everything You Need to Know About Email Deliverability.


